Identity
Admins
Federated authentication
Making sure your users only use federated single sign-on to authenticate
Federating Identity with Azure Active Directory
How to add or replace an x509 certificate for Azure Active Directory federations
Configuring multi-factor authentication (MFA)
Identity and MFA FAQs for admins
Password policy
Resetting passwords
User roles and permissions
Creating and managing users
Onboarding new users with welcome emails
Adding custom content to welcome emails
Creating and managing custom scopes
Add Login URLs to your Organisation
MFA - mandatory for Admins
Unlock user account
Setting up a SAML Client
An Introduction to Multi-Factor Authentication & Single Sign-On
Identity and MFA FAQs
OneAdvanced Single Sign-on login process when using an authenticator app
OneAdvanced Single Sign-on login process when using email for authentication
OneAdvanced Single Sign-on login process for federated accounts
OneAdvanced Identity login using username
User Journey for EasyPass (Passkeys)
Security questions
How to help keep your OneAdvanced account safe and secure
Integrations
OneAdvanced AI
Getting started
Introducing OneAdvanced AI
How does OneAdvanced AI work?
Benefits of using OneAdvanced AI
Limitations of using OneAdvanced AI
Definition of terms
Prompts
Getting started with prompts in OneAdvanced AI
Prompt engineering
Avoiding Common Pitfalls and Errors
Using Prompts in OneAdvanced AI
Using OneAdvanced AI to Summarise a Document
Using OneAdvanced AI to Simplify Information
Using OneAdvanced AI to Compare Documents
Using OneAdvanced AI to Create Visuals Using Data
Private Spaces
Intelligent Chat Agents
Introducing Intelligent Chat Agents
Accessing Intelligent Chat Agents
Using Intelligent Chat Agents
Intelligent Chat Agents Catalogue
Administration
FAQs
Web Search
Platform
Helpful how-to guides
How To - Add a Spreadsheet or Chart to your Desk
How To - Add Youtube Videos to a Desk
How To - Add a Spotify Playlist to a Desk
How To - Add Microsoft Stream Videos to a Desk
How to stop unwanted time-outs
Admin
Desks
Applets
Applets Overview
Advanced Financials Applets
Setting up Advanced Financials Applets
Advanced HR Applets
Clear Review Applets
Contract Management Applets
Countdown Applet
Desk Notes Applet
iFrame Applet
My Link/Links Applet
RSS Feed Applet
Ideas Applets
Tasks
Data Platform
Data Platform FAQs
Data Platform (Bring Your Own BI/Data Share) - Connection Options
Data Platform (Bring Your Own BI/Data Share) - User Licence Assignment Administration
Data Platform (Bring Your Own BI/Data Share) – How to Connect Microsoft Power BI to OneAdvanced Data Platform
Data Platform (Bring Your Own BI/Data Share) - Snowflake ODBC Connector Configuration Guide
Data Platform (Bring Your Own BI/Data Share) - Connecting Microsoft Excel to Snowflake Using ODBC
OneAdvanced Mobile app
How to install the OneAdvanced mobile app on your device
Instructions: Adding OneAdvanced Mobile App to Microsoft Intune Company Portal
Licencing
Contents
- All topics
- Platform
- Admin
- Creating Groups
Creating Groups
You might want to create a group of users in order to give them access to Group Desks.
Creating a group
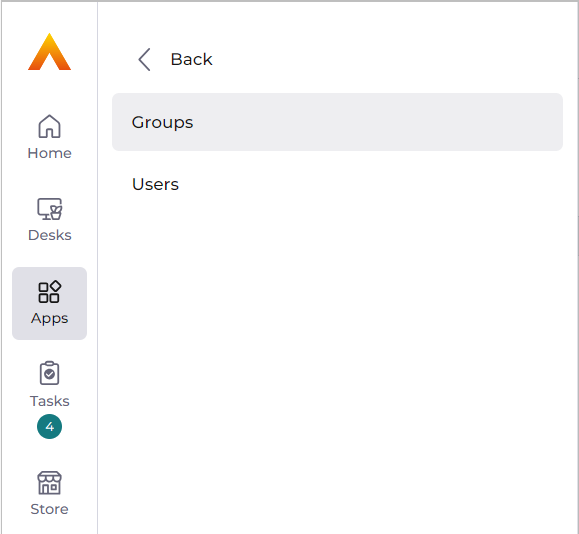
- Go to Apps on the menu, click Users, then Groups.

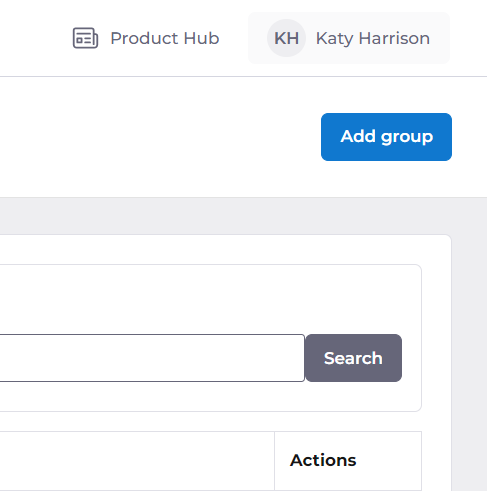
- Click the 'Add group' button on the top right.

- Enter your group name and description.
Turn on the 'Default' switch if you want all users to be automatically added to this group. You would want to turn this on for an 'All Staff' group for example. If you want to control membership of the group manually, leave the switch off.
Click Save to create the group.

Adding users to the group
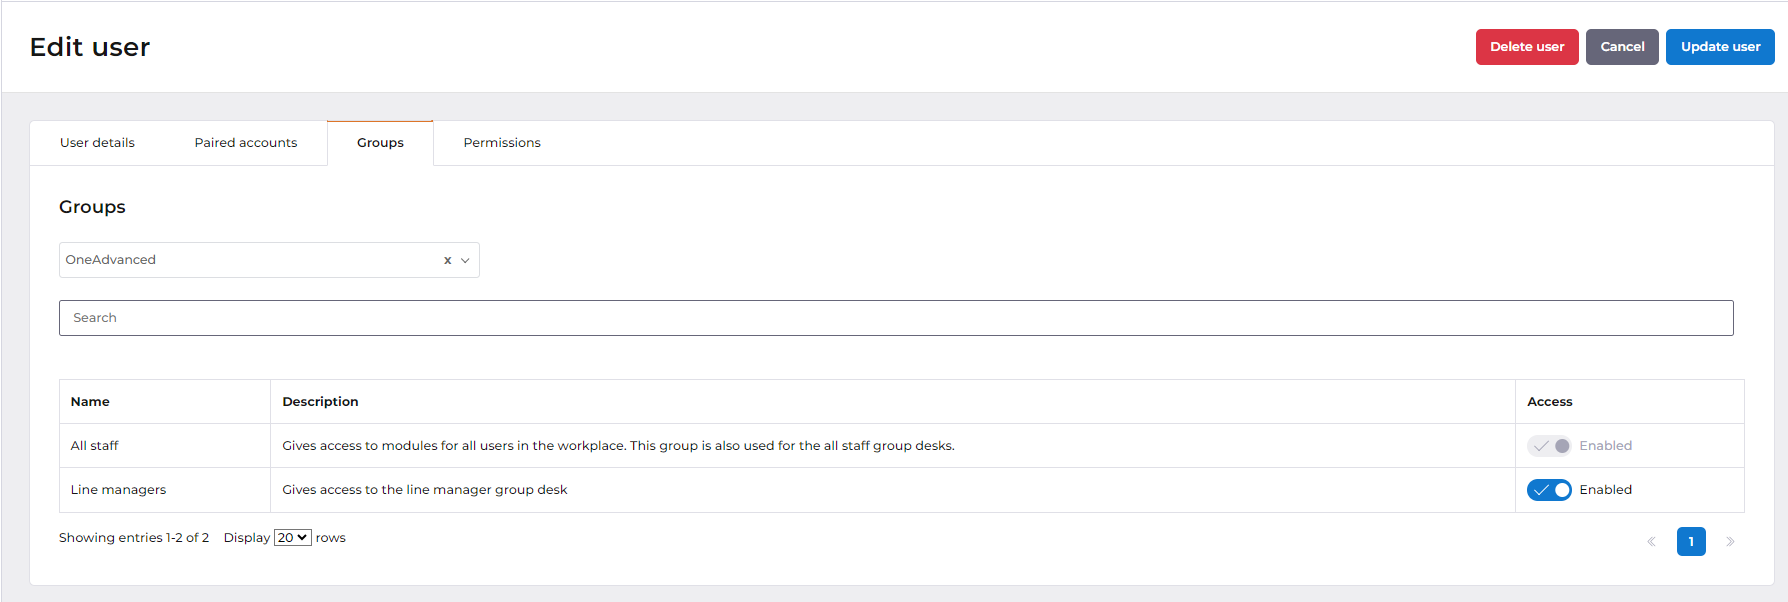
- Go to Apps on the left menu, click Users, then Users again.
- Search for the user you want to add to the group and click 'Edit'.

- Go to the 'Groups' tab. Find the relevant group and switch on the toggle.

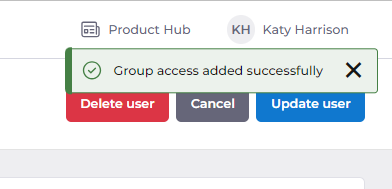
You should see a green confirmation bar that the user was added to the group successfully.

You do not need to click 'Update user'.